
PRINTMAKING: Creating a Lino Print by Amanda Colville
You will need:
- Lino
- Cutting tools/craft knife
- Relief printing ink (water or oil based)
- Ink roller
- Glass or plastic tray
- Paper

Image 1
1. To begin with, chose the design you wish to print. Strong, bold or stylised designs work well for lino printing. You can draw directly onto the Lino, or use tracing/ carbon paper to transfer your design, Remember any design will be reversed when printed, so keep this in mind when you create your design.

Image 2
2. When you are happy with your design, it is time to cut the lino. To make cutting easier, you can warm it first with a hair dryer or by placing it by a fire or radiator. Remember, when cutting to always cut away from you, keeping your hand away from the cutting tool, I have lots of scars on my hands where I have forgotten to do this! If you wish, you can use a cutting block, which holds the lino in place when cutting. To begin with, try not to gauge too deeply into the lino, as it makes it difficult to control the tool, and you will end up going through the back of the block. The cutting tools come in various sizes, from thick to thin, for different marks. Experiment with cutting and the different marks the tools make.

Image 3
3. Before inking the block, make sure any pieces of cut lino aren’t lying around to get into the ink. Clean the area well, to avoid any escapees! I use an old piece of glass as an inking plate, but you can use anything flat and non- absorbent, such as a plastic tray. I have used water based relief inks here, as they are quick drying and easy to clean, but if you decided to use oil based, make sure you have plenty of white spirit to clean your tools with. Place a small piece of ink on the plate and using the roller, roll out the ink evenly by rolling up and down and side to side. It takes a little while to get the constancy right, but less is more! If the ink is too thick, it will block the cuts you have made on the lino, and you won’t get a good print. Roll the ink onto the lino block (image 3), making sure the ink is spread evenly.

Image 4
4. To print your lino block, place the inked block on a clean piece of paper, and place a piece of paper over the top. Using the back of a spoon, (image 4) gently but firmly rub on the back to the paper to produce your print. You can usually see the design coming through the paper from the pressure.

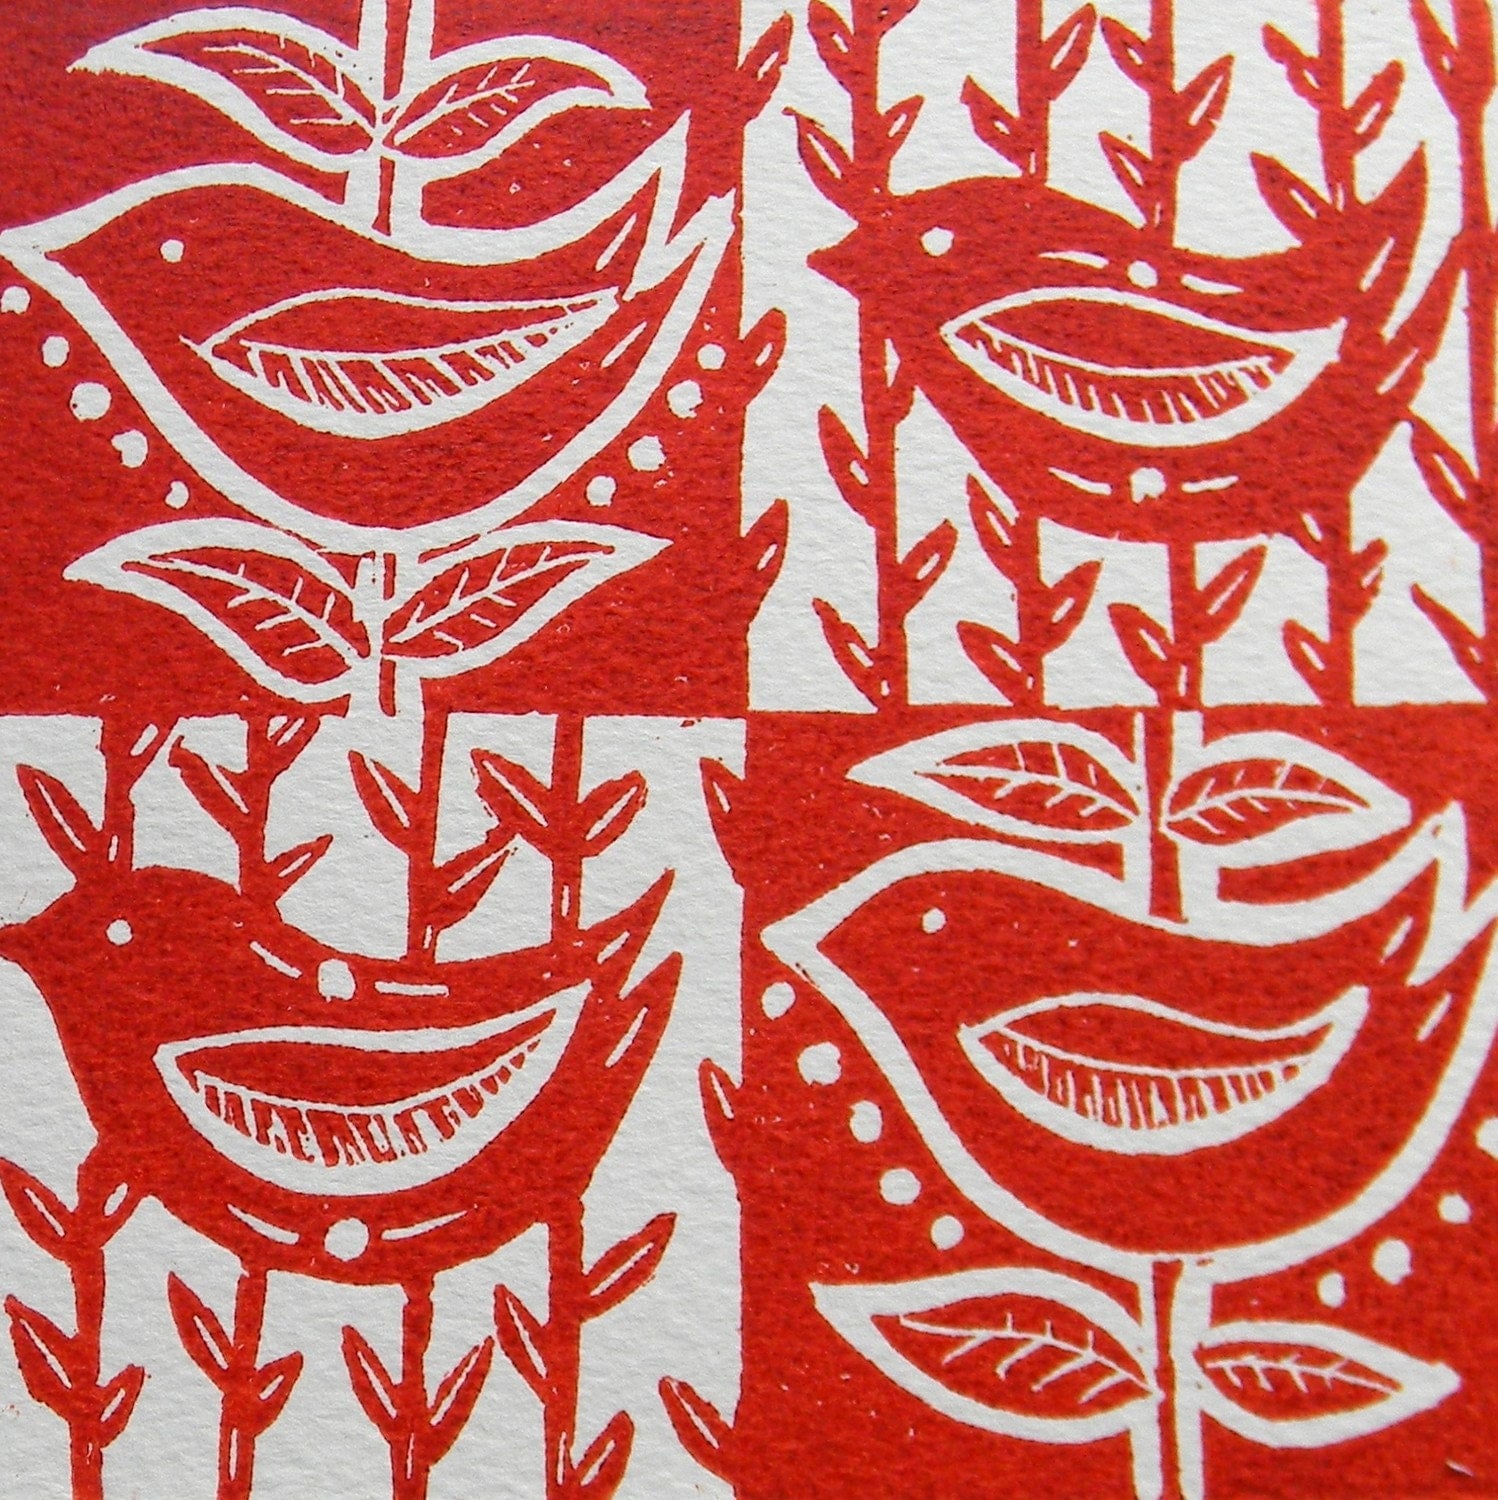
Image 5
The main rule is to experiment! It takes a little practice to get it right, but the beauty of printing means that you can try again and again. Try using different types of paper, tissue paper produces some interesting results, coloured paper, or even newspaper or old books. Have fun with what you do, you’ll probably find you’ll become addicted to the process like I have!
·
Thanks Cherith : ))
ReplyDeleteThanks for posting this! I just started carving my first linoleum block and just dove into it without doing much research. I'm gonna try heating it up from now on because I've actually been trying to carve by itself! And man, is it tough...
ReplyDeleteThis would be a great tool for my cards, thanks for posting!
ReplyDelete